Projector Sewing Help
Projector sewing allows you to display a digital pattern directly onto fabric so you can cut without printing or taping paper. This guide explains how it works, how to achieve accurate scale, and how to use Past Patterns download files with a projector setup.
What is projector sewing?
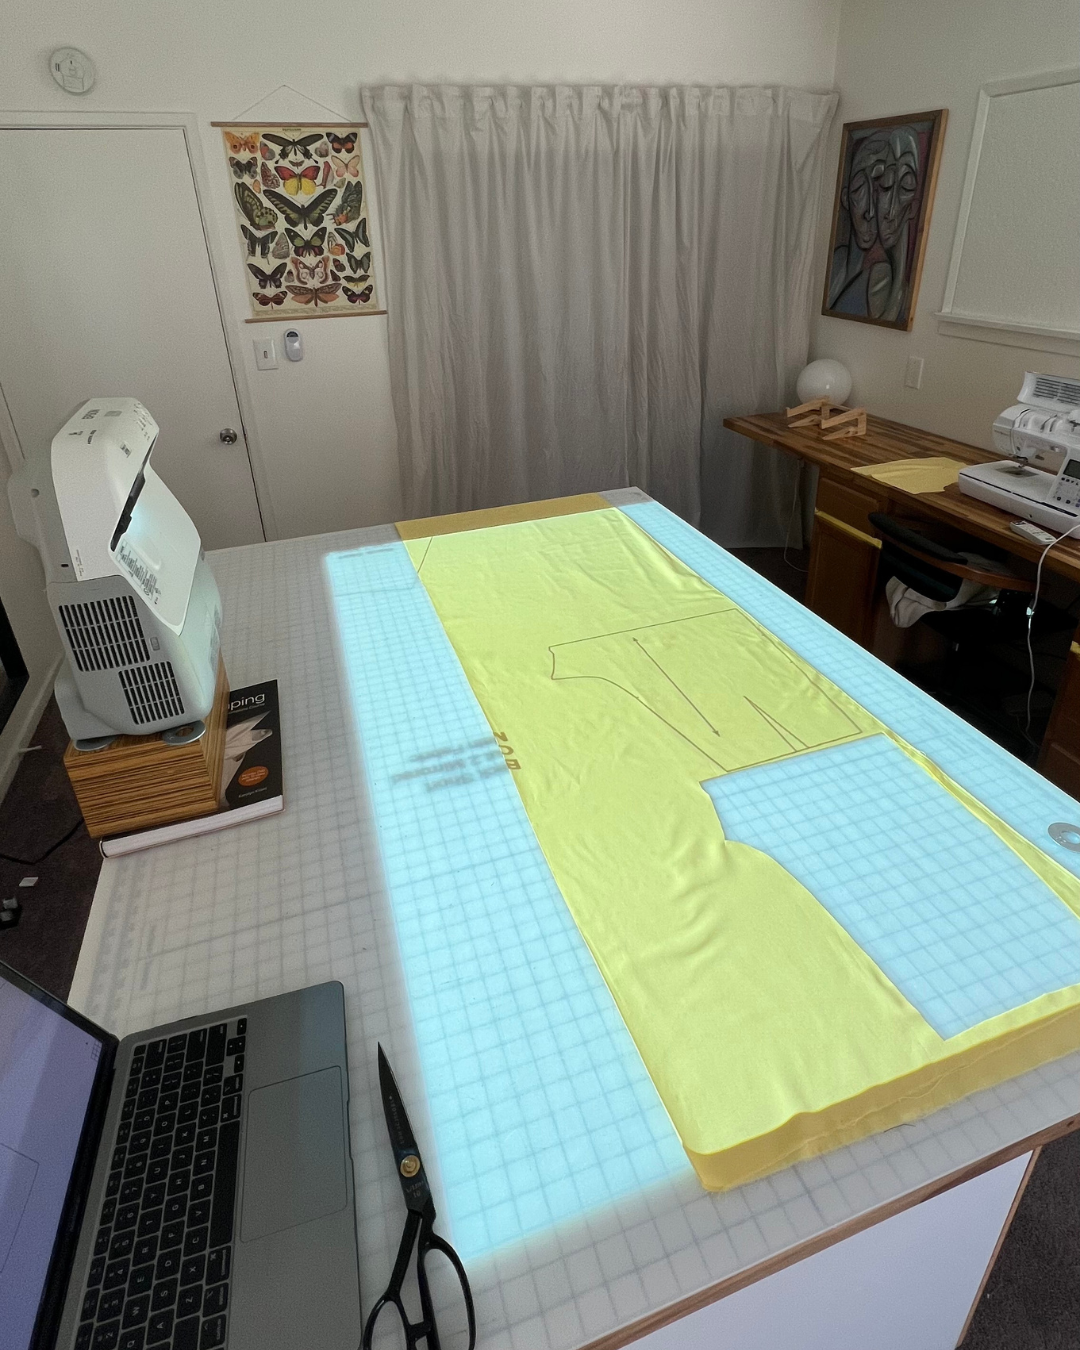
Instead of assembling printed pages, a projector casts the pattern onto your cutting surface. After verifying scale, you align your fabric and cut along the projected outlines.
Past Patterns downloads and projector use
Past Patterns download listings include both 36-inch wide and A0 files. Either can be used for projection once your setup is properly calibrated.
What you need
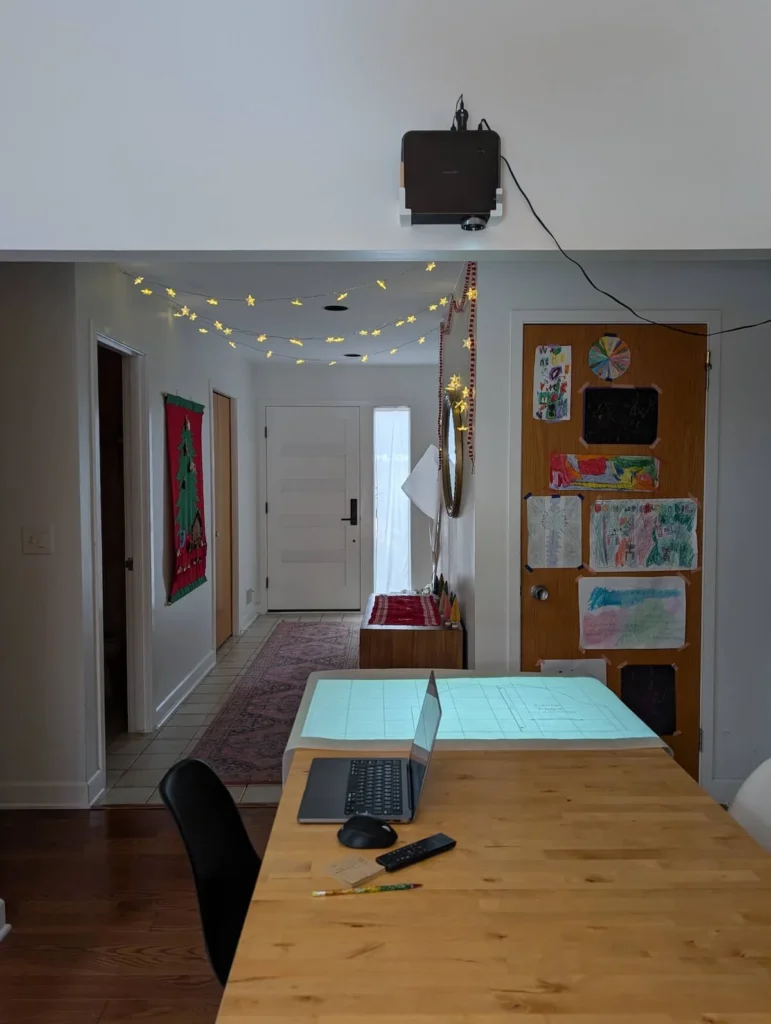
- Projector (ceiling, shelf, or tripod mounted)
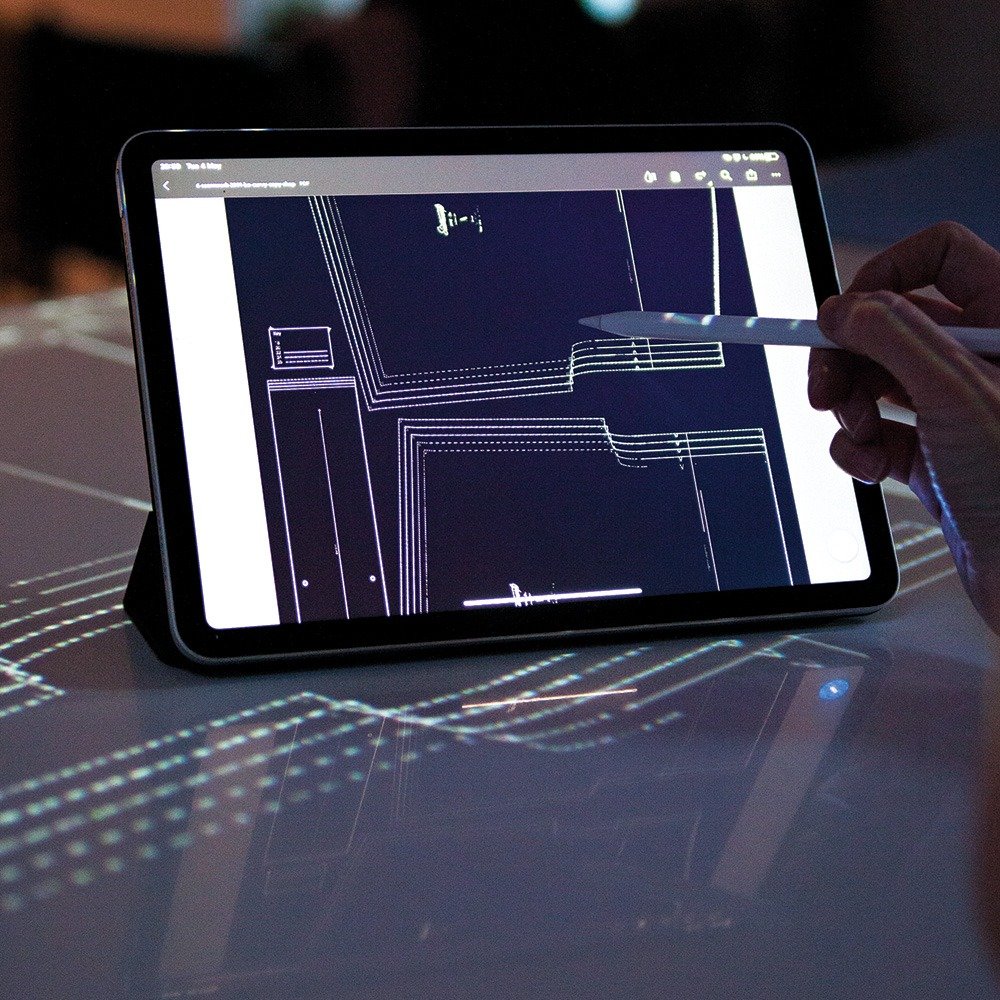
- Computer or tablet to display the file
- Large cutting surface, ideally with a grid
- Software or method for calibration
- Weights or clips to prevent fabric movement
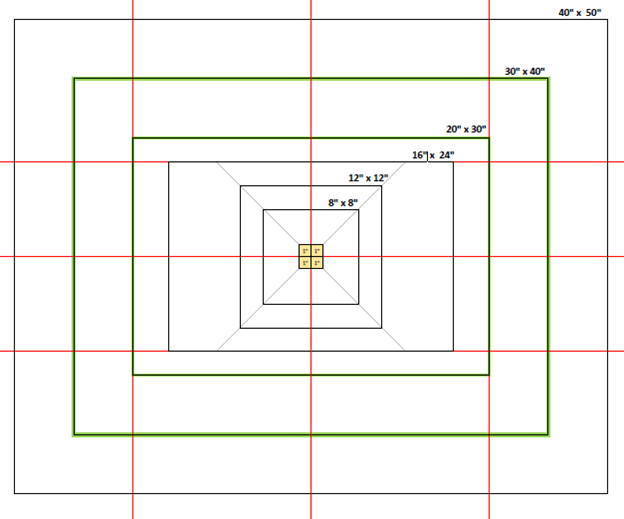
Step 1: Calibrate for true scale
Accurate calibration ensures your garment will fit as intended. Measure across several areas of the projected image, not just one point, to confirm the pattern remains true everywhere.
Helpful calibration tips
- Keep the projector square to the table.
- Recheck scale if anything moves.
- Avoid heavy digital keystone correction if physical adjustment is possible.
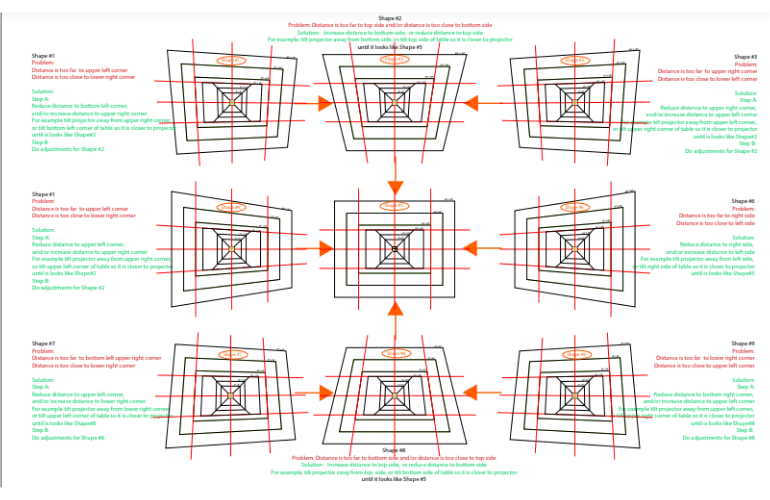
Understanding keystone distortion
If the projector is not positioned correctly, shapes can stretch or skew. Learning to recognize this early prevents cutting errors.
Step 2: Open and position your file
Once scale is correct, open your pattern and move the layout so the pieces you need are centered on the cutting area.
Using 36-inch wide vs A0 files
36-inch wide
This format resembles a traditional large printed sheet. Many sewists find it easy to navigate when projecting.
A0
A0 is also suitable for projector use. Some patterns may have pieces that approach sheet size limits, so arrangement can differ.
Past Patterns always specifies whether the A0 file contains split pieces so you know what to expect before cutting.
Aligning fabric before cutting
Smooth the material and align it carefully to the grid. Good positioning prevents distortion and ensures accurate results.

Where to learn from other projector sewists
There are active communities where people share setup advice, equipment ideas, and calibration help. These are valuable for both beginners and experienced users.
- Projectors for Sewing (Facebook group)
- Projector Sewing community pages
- Additional user-driven groups focused on calibration and workflow
A note about Past Patterns digital delivery
Files are released after order review and approval. Once cleared, you will receive access through your account notification email.
Need help?
If you have questions about which format to use or how a specific Past Patterns file behaves with your setup, contact us with the pattern number and file type.